Valentine’s Day is a day to show love for your loved ones and to spread love among your loved ones. To showcase the compassion you have for your people, there are 15 amazing Valentine’s Day crafts and gifts that are shared with you below, to display your love in a unique way. We bet every V-day you have these worrying vibes about getting a meaningful gift for your loved ones. Name anything more meaningful than something handmade? These unique valentine’s day gifts are certainly charming!
It is our smallest deeds that show love throughout the year, but Valentine’s Day is the time to be vocal about it. Try these amazing and unique valentine’s day crafts and gifts ways to leave your loved ones in utter amazement. If you are planning a date night or a family meal night, you would love the V-day table runner or treat bags. From brownies to wall art or scrap fabric to a jigsaw puzzle, there are 15 unique valentine’s day crafts for everyone to choose from! Get started.
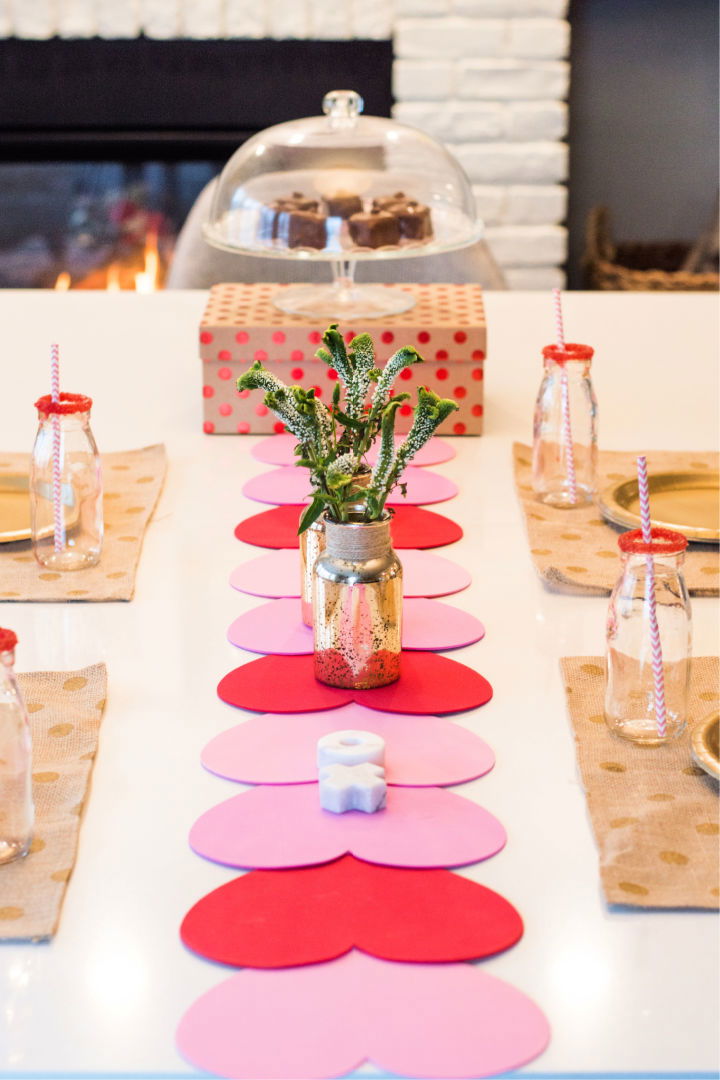
1. Valentines DIY Table Runner
These DIY heart-shaped table runners will definitely go with your valentine’s special homemade dinner. You can later use these table runners for different parties as well. All you need for these table runners are hot glue, foam hearts, or you can cut paper hearts as well. Grab your supplies, and hit on the link to get going with this tutorial. anightowlblog
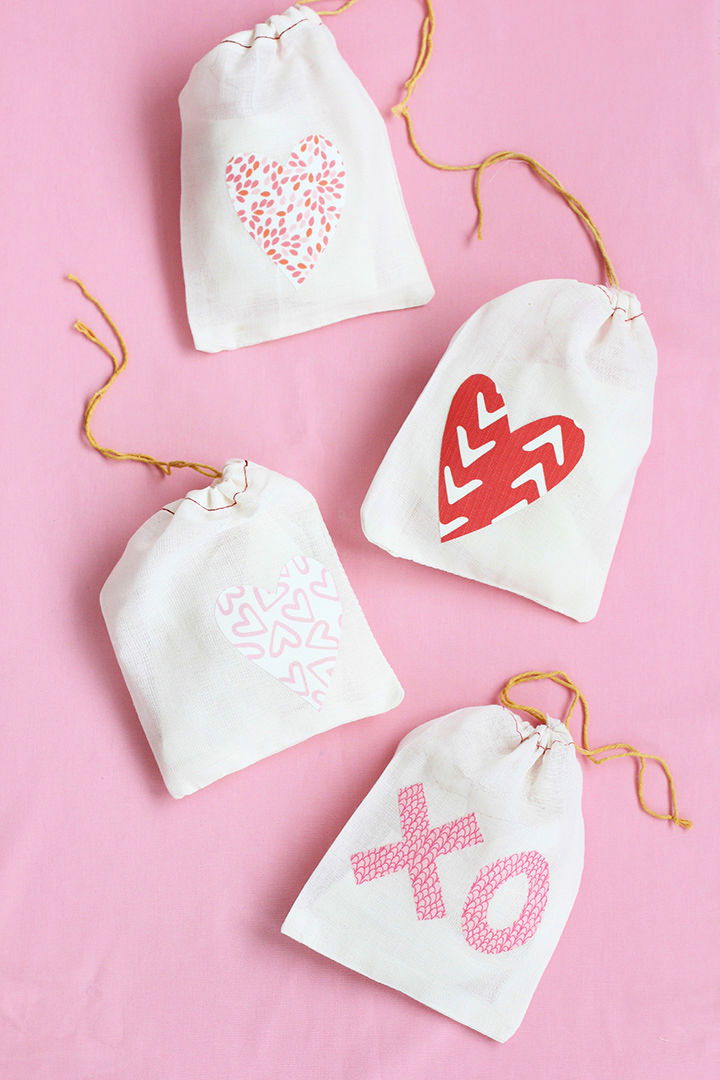
2. DIY Valentine Treat Bags
These Valentine’s Day treat bags can be used to give cute goodies to your friends to express your love and gratitude to them on this special day. You can use different applique designs according to your or your friend’s liking. All you need is a piece of cloth, and add a ribbon to tie these little bags up. Click the link to learn. aliceandlois
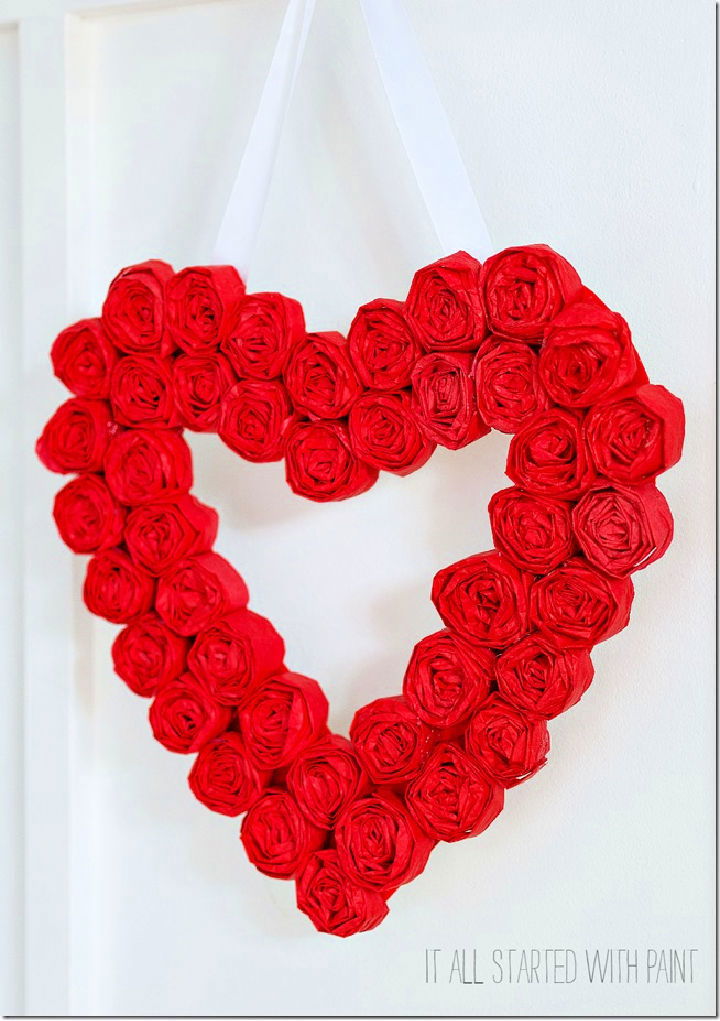
3. Tissue Paper Rosette Valentine Day Wreath
If roses are way too cliche on this occasion, try making a tissue paper-rose Valentine wreath to surprise a loved one. Place this scarlet red wreath on your front door and display the idea of ‘all love-no hate’ on this special day. Hit the link and learn to make this easy wreath. itallstartedwithpaint
4. Easy Valentines Day Brownies
Brownies for Valentine’s Day, yay! Sharing your sweet tooth with a loved one on this special occasion adds up to love. Bake these heart-shaped brownies and a customized cute message on it with the cream. We’re sure your loved one will also love these brownies. Hit the link, go see the easy recipe, bake and enjoy! goodhousekeeping
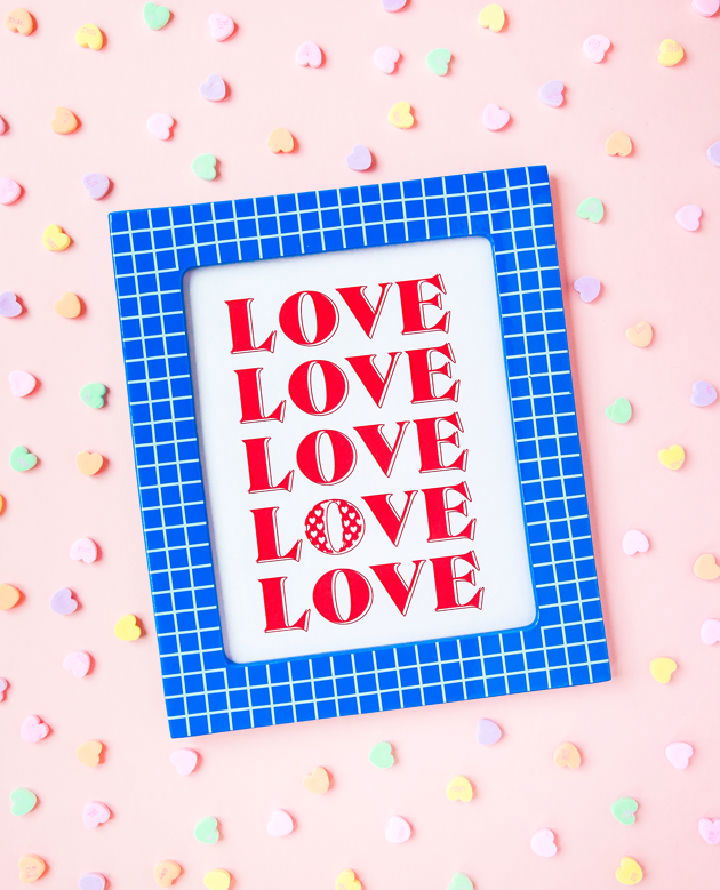
5. Free Printable Love Wall Art
How about making a love wall art for your loved one. They will surely love this cute gesture and would appreciate the idea of you being creative for them. All you need is cardboard; some papers scrap and download your liked pattern from the internet. Hit the link to get the details. thecraftedlife
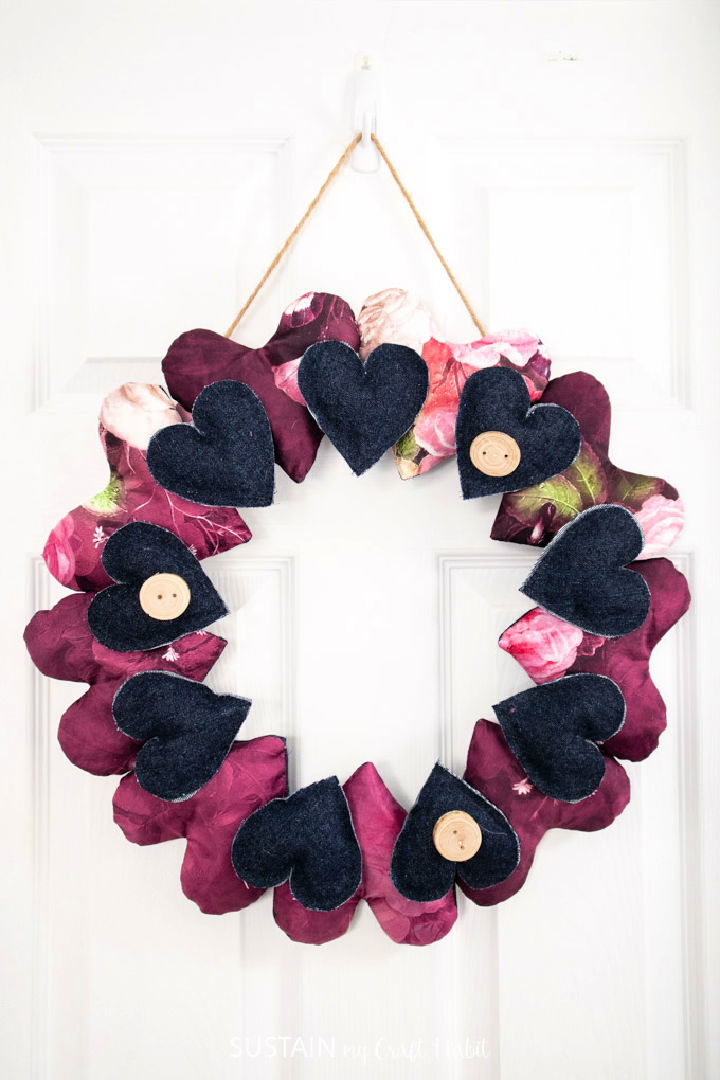
6. DIY Wreath With Scrap Fabric Hearts
This DIY wreath with hearts looks fancy, doesn’t it? But you will be amazed to find out that this heart wreath, as fancy as it looks, is as easy to make. All you need is a scrap fabric to make hearts with. It can be a fabric with little hearts printed on it, or something similar. Click the link, learn how to make this wreath, and bring some decent romance into your home. sustainmycraft
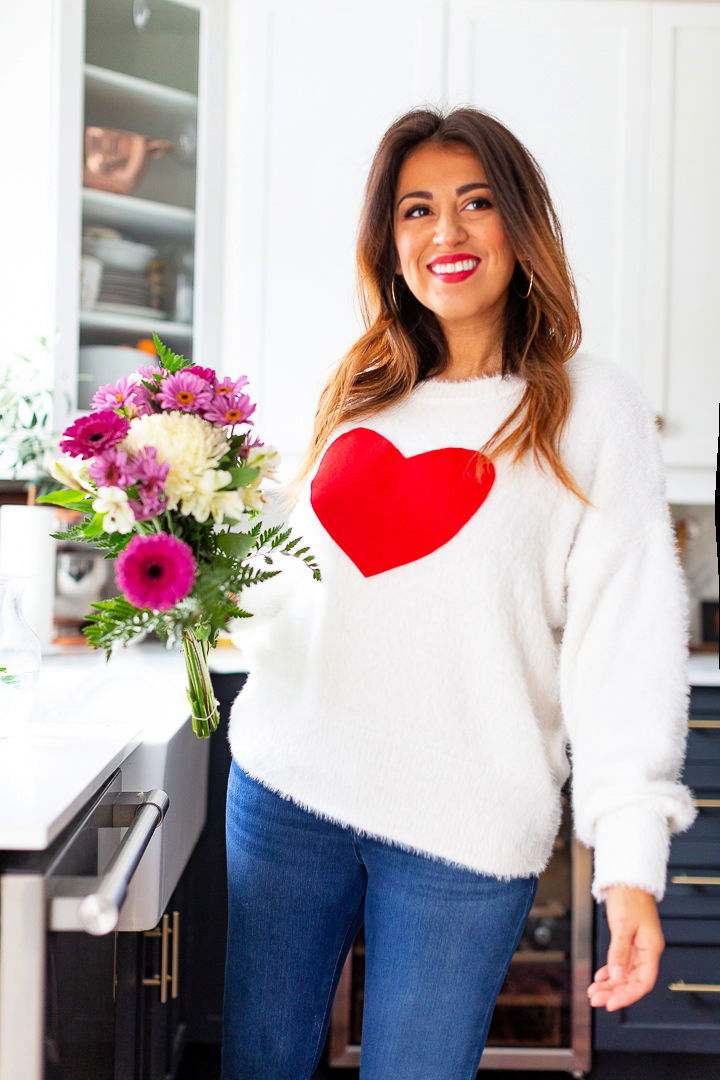
7. Easiest Valentine’s Day Sweater Tutorial
A sweater for a loved one, how does that sound? But if you’re not good with knitting, you can cut a simple red heart out of the peel and stick or sew it on an existing sweater that you want to gift to your partner. This sweater will be a perfect gift on valentine’s day. Follow the link and learn about the easy details about it. craftberrybush
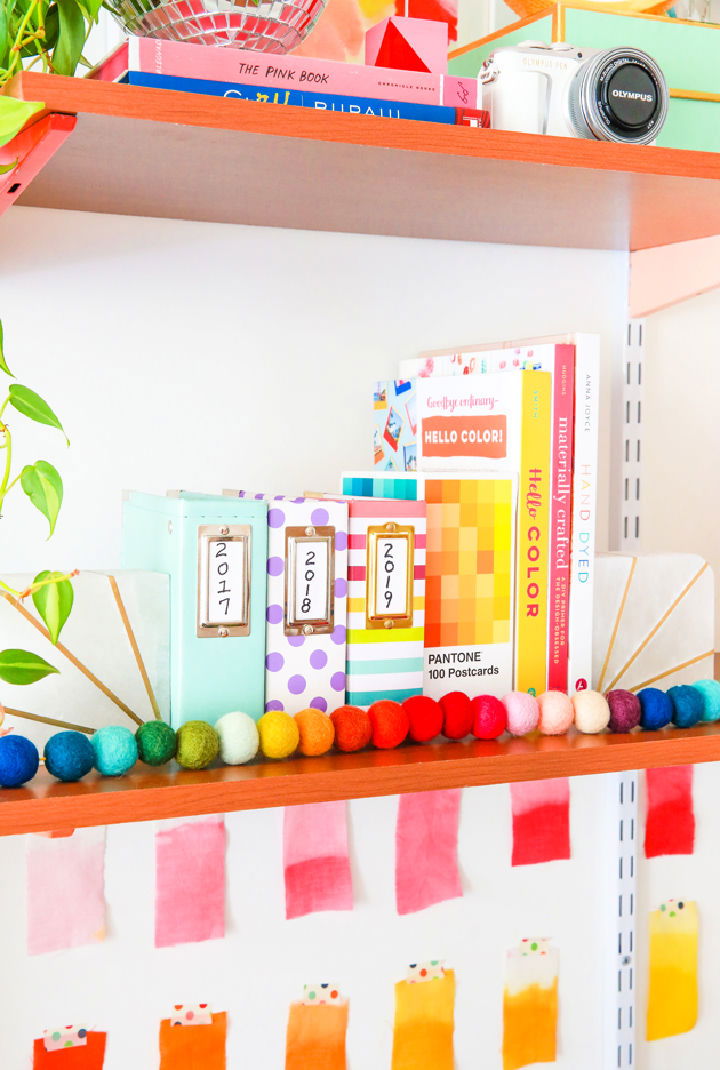
8. How to Make Your First Scrapbook
Let’s make a scrapbook for this upcoming Valentine’s Day. It will be a romantic gift for a couple who is doing a long-distance relationship. It will be considered as a cute gesture from you to your partner. All you need is a photo album, your couple photos, Letter stickers, washi tapes, scissors, and page protectors to make this scarp book for your partner. Go to the link for the details. thecraftedlife
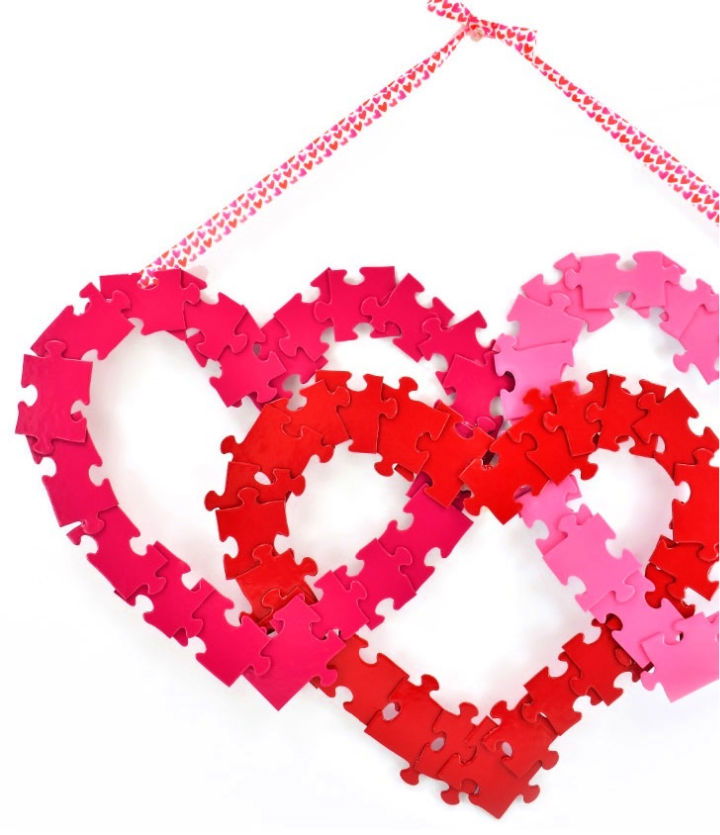
9. Jigsaw Puzzle Heart Wreath
Have some pieces of a long-lost jigsaw puzzle, and you know that you cannot complete this puzzle anymore? Paint those puzzle pieces in different tones of red. Glue them together in a heart shape. Add a ribbon to it, and place it on your front door as a wreath. Voila! Your jigsaw puzzle heart-shaped wreath is complete. Let’s surprise people with your amazing creative skills by this valentine’s day craft! dreamalittle
10. Love Struck Valentine Activity
Make these beautiful love-struck valentines tag and spread love among your friend, in a sneaky way. Attach these tags captioned ‘you’ve been love-struck’ or ‘we’ve been struck’ to the goodie pack filled with candies, or brownies, and secretly deliver these treats to your friend’s door. Click the link for more details. skiptomylou
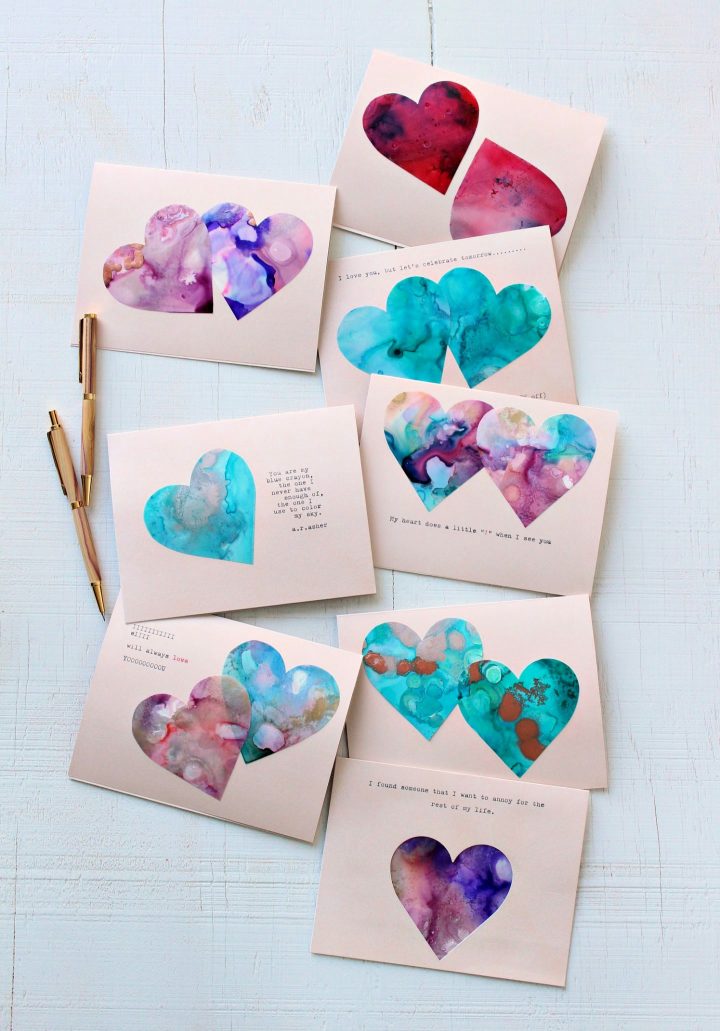
11. Marbled Heart Cards for Valentines Day
Let’s help the kids to make these DIY valentine’s day cards for their friends. All you need is rubbing alcohol, synthetic paper, paper straws, garbage bag, blank note cards, and a couple of other things to create these marbled look Valentine’s Day cards. Follow the link for step by step instructions to make these cards. danslelakehouse
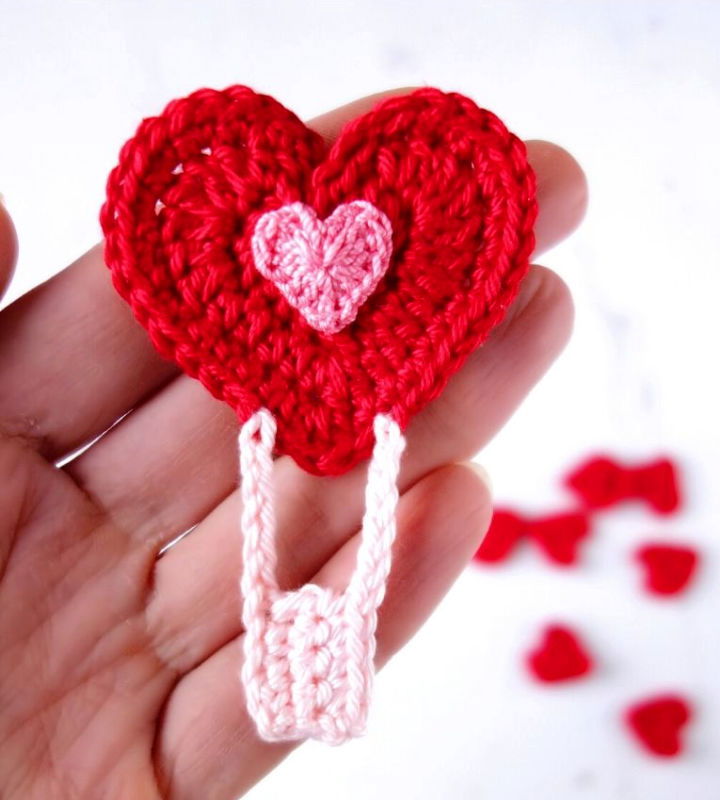
12. Crochet Heart Air Balloon Applique
Crochet this heart-shaped air balloon applique for a loved one and gift it to them as a gift. It can be used as a key chain or as a bookmark or as an embellishment. This crochet heart applique is easy to crochet and can be whipped in minutes. Tap on the link for details. goldenlucycrafts
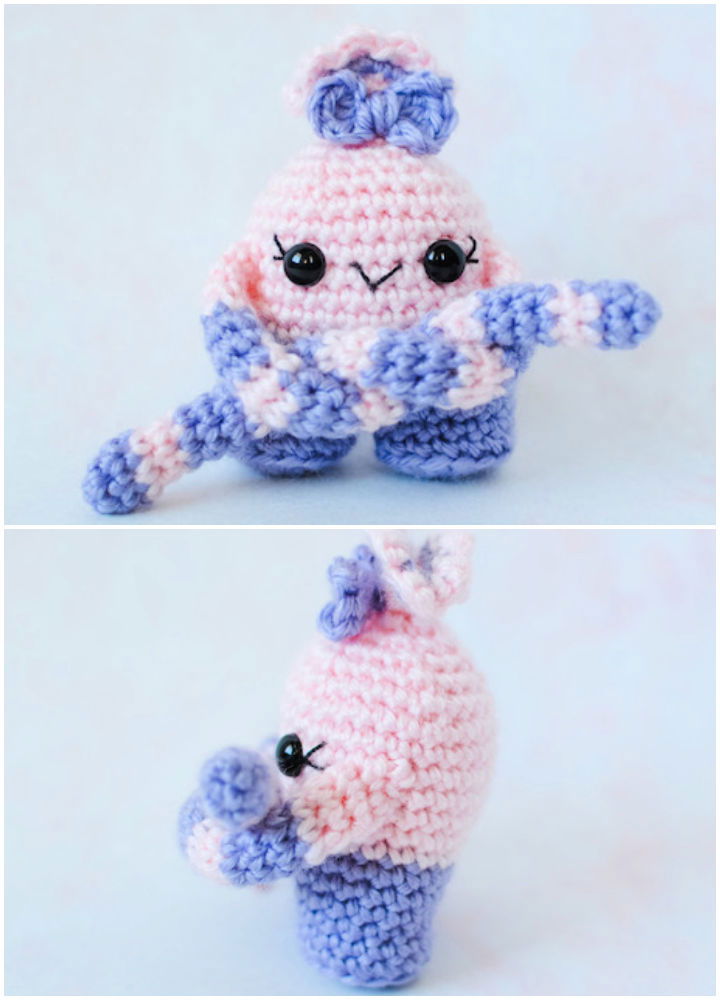
13. Mini Monster Amigurumi Crochet Pattern
This cute little monster amigurumi can be crocheted in no time. The skills required for this is of beginner level. Whip this pattern and gift it to a loved one as a Valentine’s Day gift. Customize it according to their character. It will be a fun gift for them as well. Follow the link for details. yarnsociety
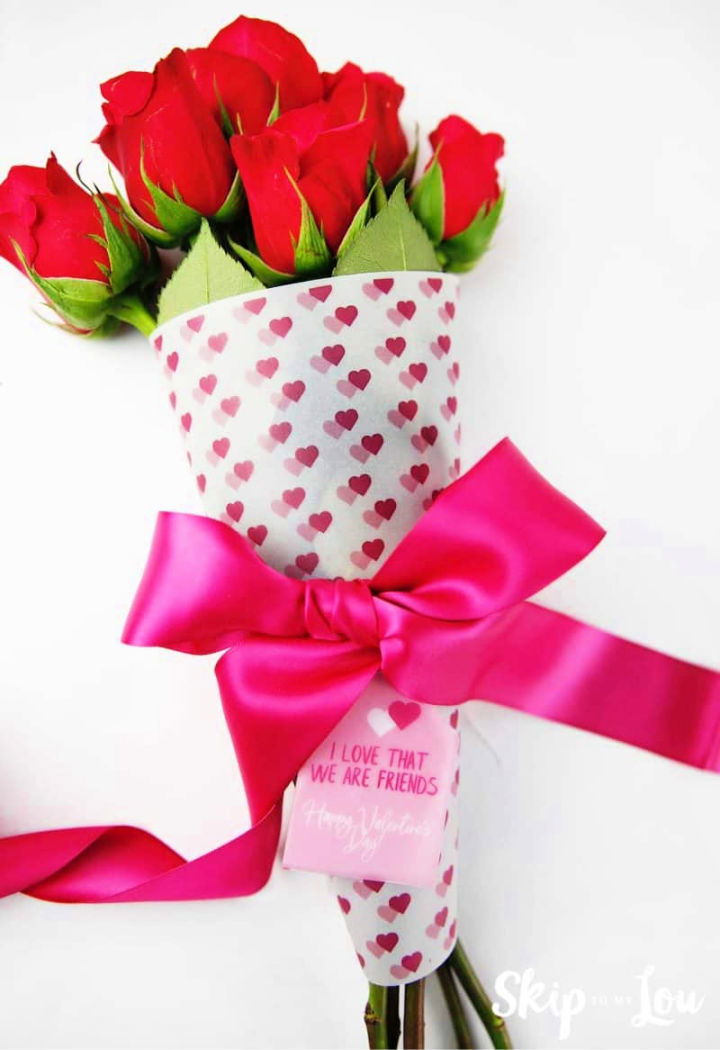
14. Valentine Printable Flower Bouquet Wrap
Tired of those basic flower wraps? Now you can print these printable flower wraps according to your needs and wrap your flowers into it. These customized wraps have almost every kind of beautiful Valentine’s Day-related prints on them. Click on the link to choose your customized wraps. skiptomylou
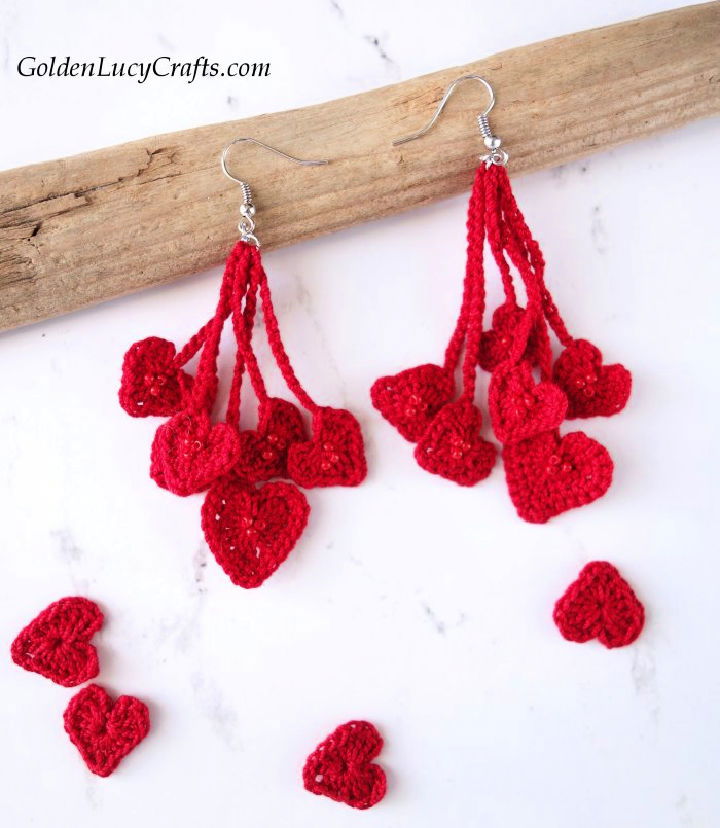
15. Crochet Heart Earrings
Crochet earrings as a valentine’s day gift for a friend. Get to work, girls! Because these earrings are going to leave your best friends in awe. The scarlet red crochet earrings can be crocheted in less than an hour. They look like a cool and unique gift to assure your friend about the love, bond, and connection you have with her. Hit the link and learn to crochet these earrings. goldenlucycrafts
Wrapping Up:
Make you and your partner’s, family’s or friend’s valentine’s day special by following these DIY valentine’s day crafts and gift ideas with such fun techniques. You can make meaningful gifts and make your V-day as memorable as it can get! So what are you waiting for? It’s time to show some love.
We are a participant in the Amazon Services LLC Associates Program, an affiliate advertising program designed to provide a means for us to earn fees by linking to Amazon.com and affiliated sites.