Chase The Star blog has been merged into DIYCraftsy, all about home decor, crafts, and DIY projects! Don’t you love blogs that cover almost every aspect of your life? The first section of this blog will cover home decor ideas – you will find all the different ideas in this section! It’s really important to make your house look nice and pretty – that’s the place where you love it, and you need to keep your space nice for good vibes! Furthermore, you will also find an arts and crafts section in your blog! It will have many different art options – you can try these out to de-stress after having a bad day! Most of these crafts can also be re-created with your children – it will be a lot of fun!
The DIY section of the blog will cover a range of different home projects from almost every corner of your life! The best part about these Chase The Star DIY ideas is that you can easily find all of the supplies in any stationery shop! Furthermore, the guides are written in step-by-step instructions, making everything a lot easier for little children or beginners to follow! How cool is that!
Valentine’s Day Crafts
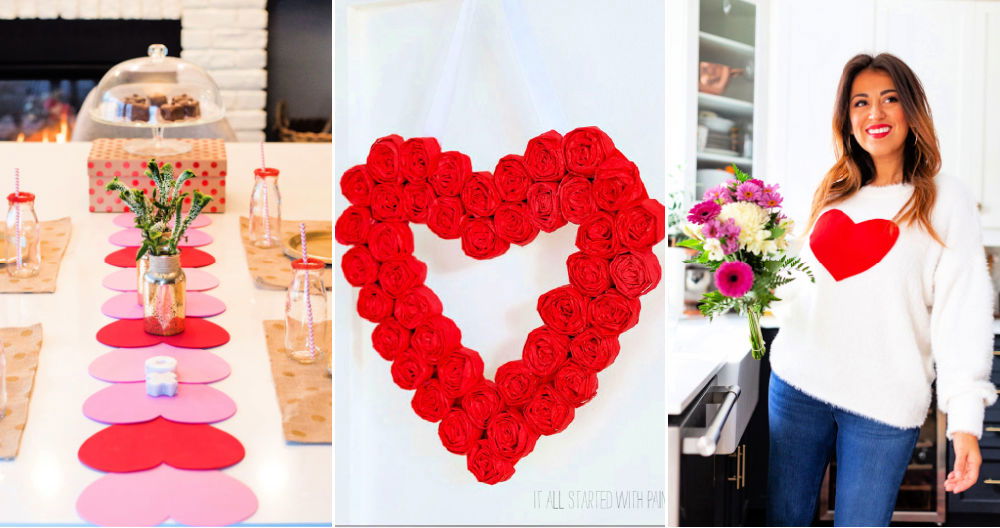
Valentine’s Day is just around the corner – it’s time for you to make amazing Valentine’s crafts for your loved ones! Your loved ones can include many different people – parents, siblings, relatives, friends, and your significant other! This craft section of this blog will cover many different gift ideas – they’re not only versatile and fun but also super easy to make! Any beginner can easily make most of the crafts by gathering all of the supplies – isn’t that just the best thing ever? All the crafts give off a nice and romantic vibe, which is perfect for Valentine’s Day!
Terra Cotta Crafts
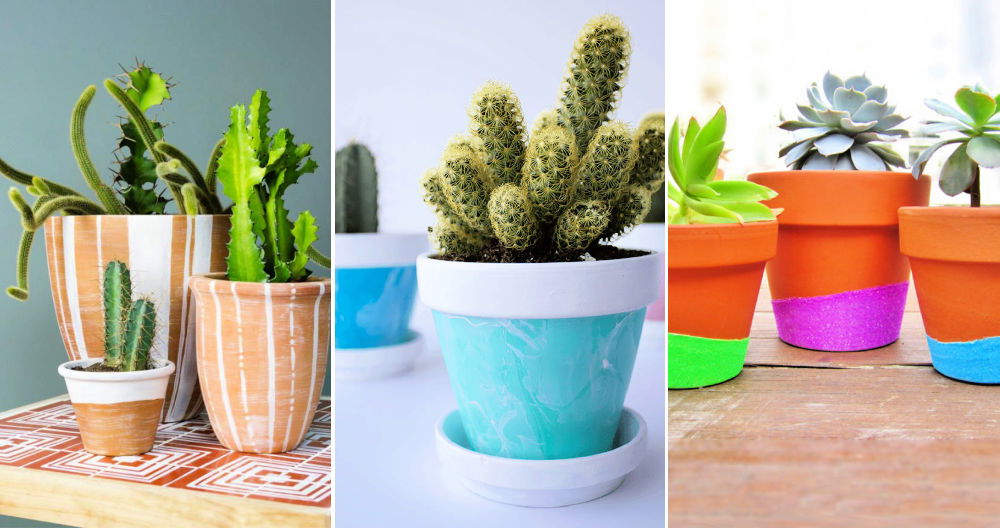
Terra cotta is used in many building things; however, you can also make fun little crafts! Fountains, pots, wind chimes, garden turtles, bird feeders, pot critters, and many other things can be made out of the terra cotta technique! The drying part might be a little hard as you will have to wait before you get to painting and decorating! If you want a few ideas on how you can decorate your crafts, follow the amazing clay pot crafts on this blog! There are many unique color schemes and options for you to choose from! So, are you ready to have some fun?
Back To School Crafts
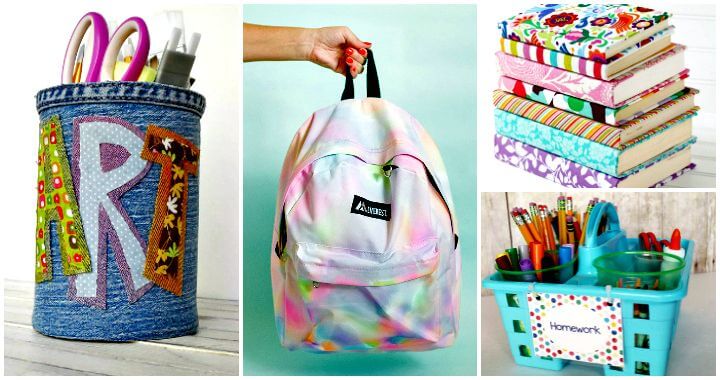
Back to school crafts are really fun to make during the back to school season! If you remember being a child, you might miss the excitement you had before school started every year! You can also make this season special for your kids by making these adorable crafts! All you need to shop for this year are the supplies required to make these crafts – yes, that’s all you need to spend money on! Isn’t that amazing? You will save money and end up making customized amazing crafts in the comfort of your own house! How cool is that?
Cardboard House Ideas
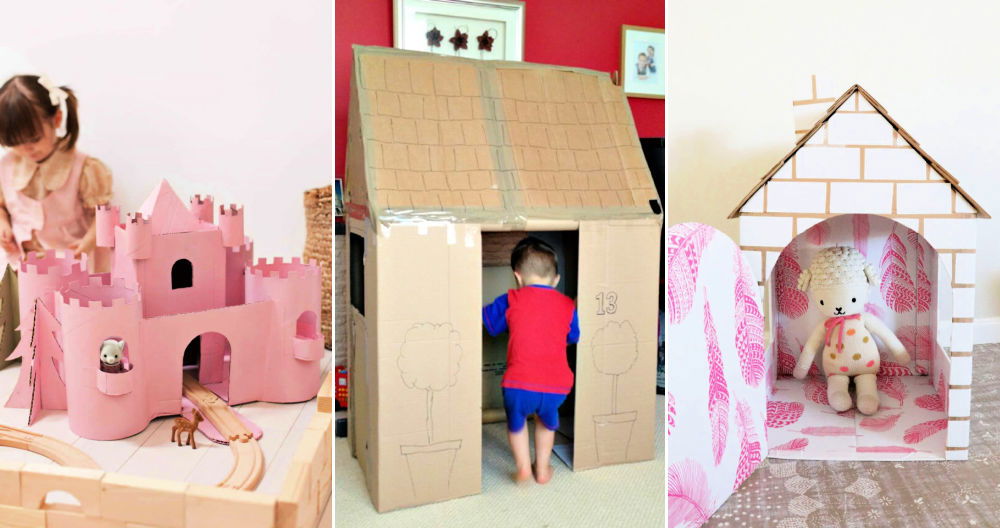
Do you love crafting and making things with your hands? Do you also happen to like housing design and architecture? If so, then you’re in for a real treat today. We’ve compiled some of the best cardboard house ideas out there to give you inspiration for your next crafting project. From simple designs that are perfect for beginners to more complex projects that will test your skills, we have something for everyone. You will love these ideas for cardboard houses. Not only are they easy to make, but they add a touch of whimsy and fun to any room. Plus, they are perfect for kids of all ages. So grab some cardboard and get started!
DIY Gifts
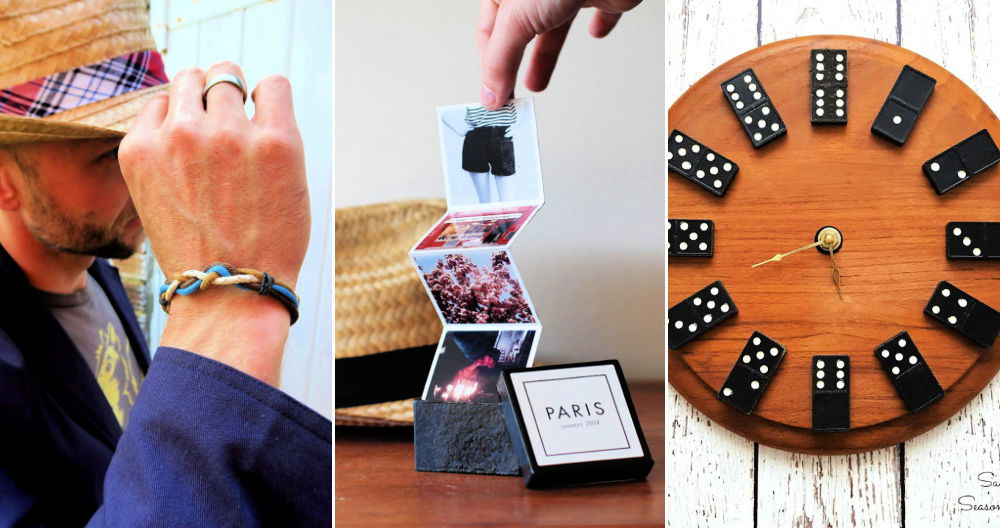
Store-bought gifts are not very fun as you can not add your own touch to them! DIY gifts are the best as you can make them on your own by adding your own customizations! People love handmade presents as they’re a lot more personal and special – knowing that a person put in the effort to make the gifts! However, they don’t need to know that you put little to no effort into following these amazing yet easy crafts! All you need to do is go to your nearest stationery shop and gather all of the supplies! After that, the rest of the process is pretty simple!
Crafts for Kids
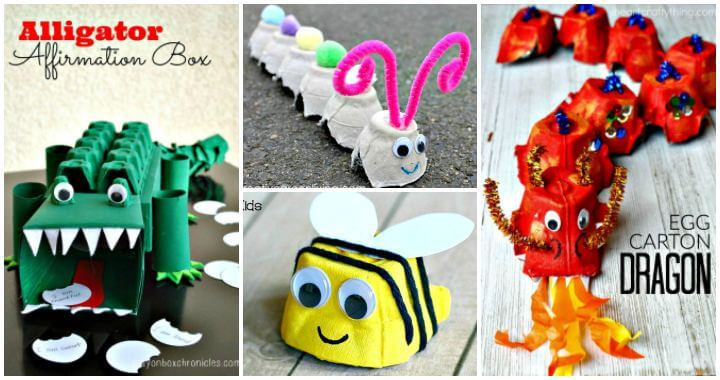
The ages between 3 to 6 is when kids tend to be the most creative! This is when you can make adorable crafts with them to open up their minds and make them think more creatively! What better way to do so other than following the amazing crafts for kids in this blog? Since these crafts are supposed to be for children, it’s effortless to re-create them! You can gather the supplies and see your child squeal with excitement when they get to follow the instructions and make these crafts! However, keep them away from the scissors and help them out when they feel lost!
DIY Furniture
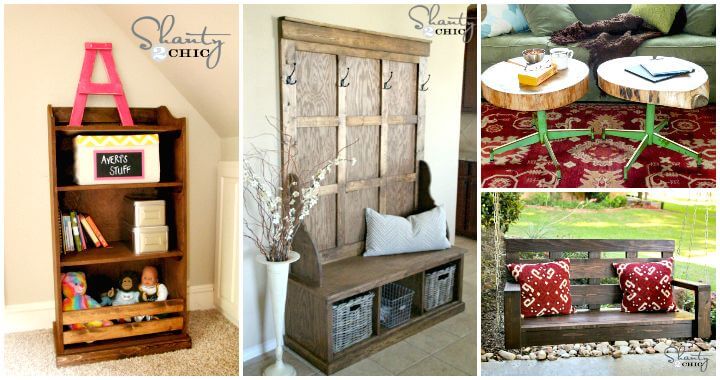
Furniture is the most important thing when it comes to decorating a house! Decorating your house is like playing dress-up – it’s so much fun to make DIY furniture and adding it to different rooms and corners of your house! You can follow the home decor section of this blog to find many different furniture ideas that can be made in the comfort of your very own house! Most of these DIY’s use basic supplies like wood, miter saw, table saw, drill, measuring tape, etc. You can also stain the wood depending on whatever shade of wood matches the rest of your furniture!
DIY Nightstand Plans
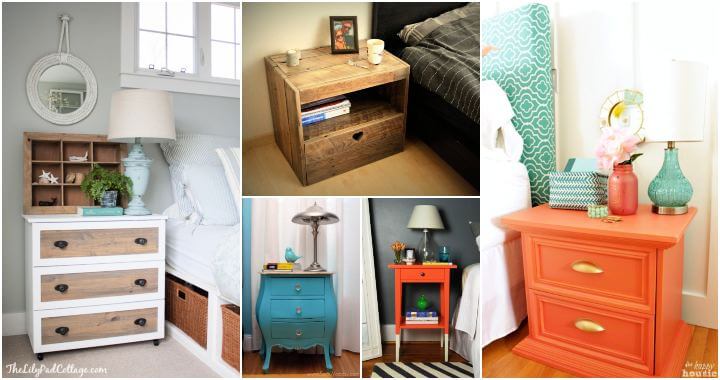
The home decor section of this blog will cover many different ways to make your house look beautiful – some of them will also include DIY nightstand plans! Nightstands are quite important when decorating a room – you can keep your candles, crystals, clocks, and many other things on the nightstand! It adds a really nice touch to the bedroom, and you should definitely make one for your own room! Only a few supplies are required – pallet wood can be used for durability, while cedarwood can make an aesthetically pleasing nightstand!
DIY Lampshade
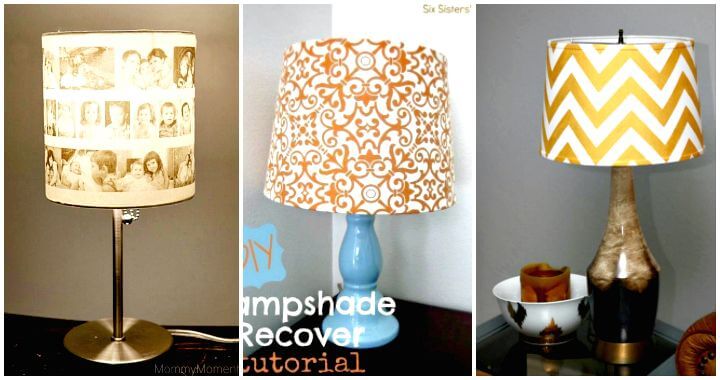
Good lighting in the house can change the whole vibe and make everything look ecstatic! Don’t you love the golden and cozy lightning of the lamp – it is really relaxing and comforting for the eyes at night! You can easily re-create many different lampshades mentioned in these blogs! They are in many different shapes and sizes – from circular to triangular ones; from small to huge ones! You can choose one depending on the theme and look of your room! It will be super fun to make these DIY lampshade ideas when you want your nightstand to look interesting!
DIY Chandelier
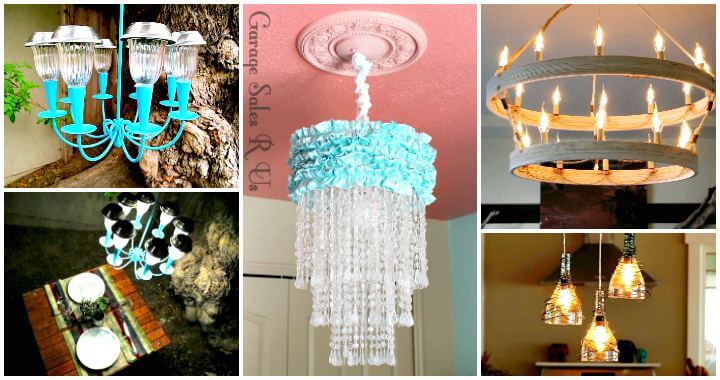
Chandeliers can add a really fancy and nice vibe to almost any house! Do you have a high ceiling in your house and want to cover up all the space? Well, what is a better solution than making a DIY chandelier? Chandeliers in the market can be very expensive, and no one wants to spend that much money when they can make it on their own! Do you feel the same way? Well, then it’s time to gather the supplies and make this beauty on your own! You will need a few different tools and materials that can be found at a hardware store!
DIY Coffee Table
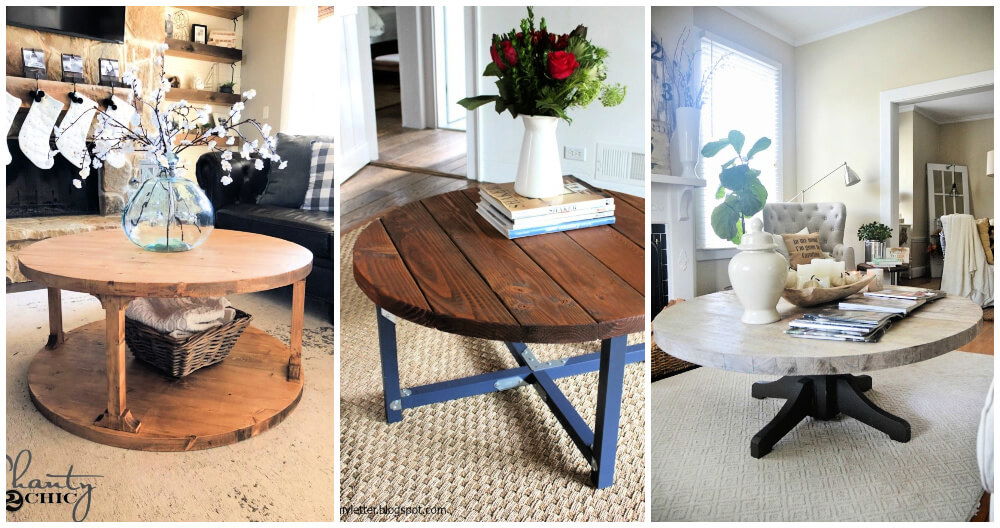
A coffee table is the centerpiece of a living room – you should definitely make one for your living room if you don’t have one already! Coffee tables come in many different shapes, sizes, and colors! These free coffee table plans can help you to build your own coffee table at no cost. You can start by finding a wood that you like as there are many different options for you in the market – cedarwood, pallet wood, oak wood, etc. Make sure to choose an option that resonates with you the most – for example, pallet wood will be great for durability, while cedarwood is good for aesthetics. Furthermore, you can also choose to stain the wood to add a nice color.
DIY Outdoor Table
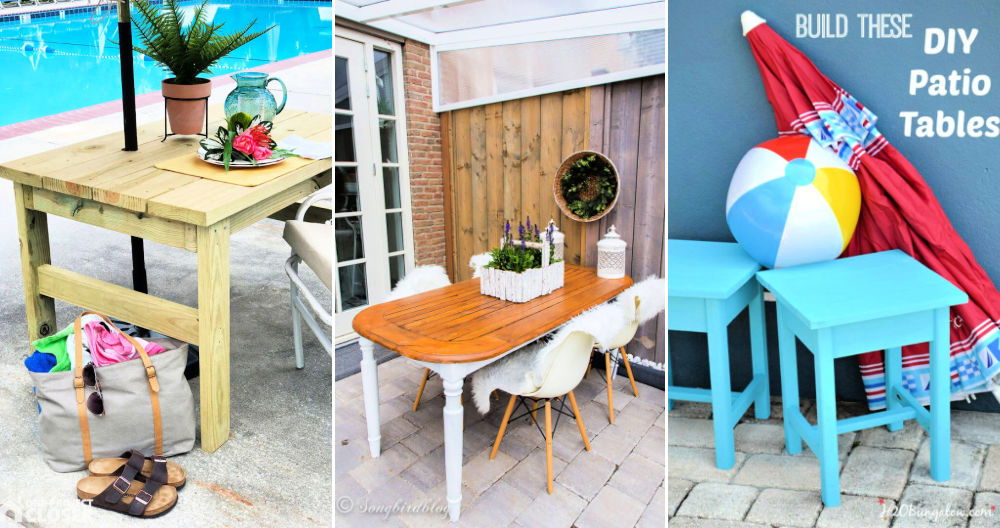
Do you want an outdoor table that is both beautiful and functional? If so, then you will love our free DIY Outdoor Table Plans that are easy to make. This table is perfect for any deck or patio, and it can be customized to match your unique style. Plus, the construction is simple enough for even beginners to tackle. Summertime is the perfect time to get outdoors and enjoy the weather! Why not do so by sitting at a new outdoor table that you made yourself? So get ready to create the perfect addition to your outdoor space!
DIY Gaming Table
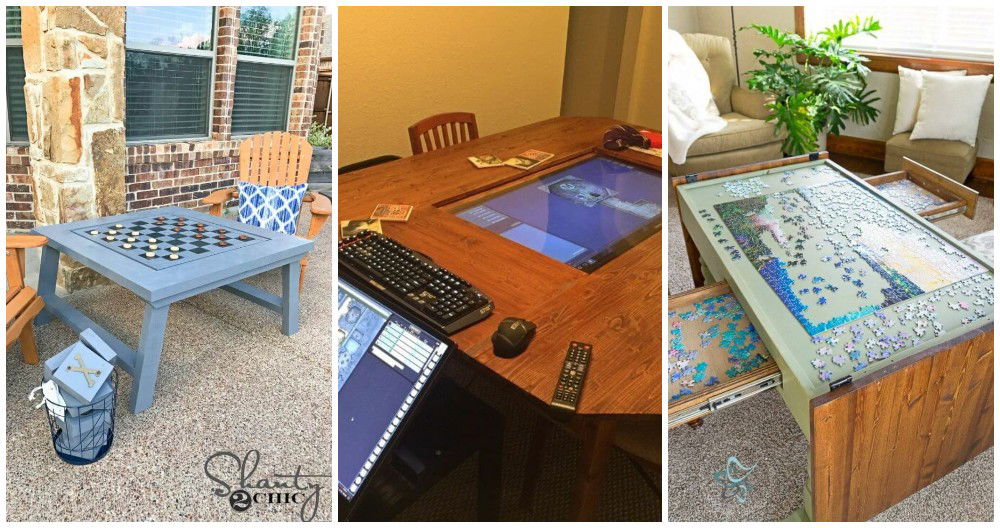
Do you love playing board games and want a table that is just for gaming? If so, you’re in luck! We have some great DIY gaming table plans that will help you create the perfect space for game night. Plus, these tables are also perfect for other activities, like working on crafts or projects. So whether you’re a crafting enthusiast or a gamer, these tables are sure to meet your needs. Keep reading to learn more!
DIY Charging Station
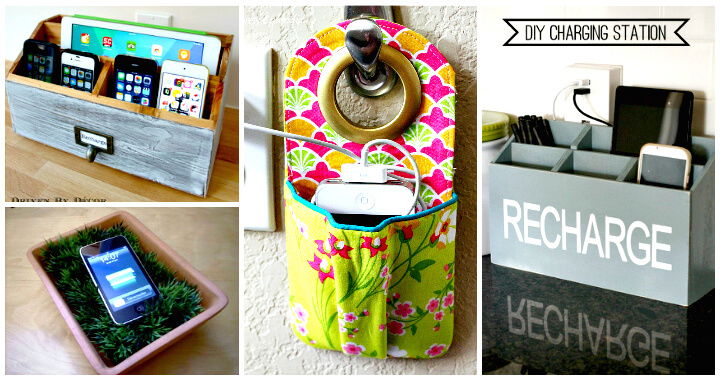
Do you have a lot of messy cords around your house? It can be a little hard to organize and clean up with the tech world! If you want to clean up your space and hide away all the wires in your house, making a DIY charging station is an amazing idea! A charging station will charge all of your electronic supplies while hiding the ugly wires! Start by gathering all the charging station supplies – wood, drill, and a few other supplies. After this step, you can drill holes for the power strip cord! So, are you ready to give this amazing project a try?
DIY AC
When it comes to keeping your home cool during the summer, air conditioning is key. If you’re like most people, you probably aren’t keen on paying for an expensive AC unit or calling in the professionals for a costly installation. That’s where DIY air conditioning comes in! In this blog post, we’ll show you how to make your own DIY AC unit using simple materials and items you likely have lying around your house. Stay cool all summer long with this easy tutorial!
Dog House Plans
Building a dog house is a perfect way to keep your pet warm and dry in the winter, and cool in the summer. While you can purchase a pre-made dog house at your local pet store, they can be expensive. If you have some basic woodworking skills, you can easily build your own dog house using one of these free dog house plans available at diycraftsy. We will overview the construction process for building a simple rectangular dog house, as well as provide links to several free dog house plans. Stay tuned for future blog posts that will cover more complex designs, such as A-frame and octagonal houses. Have fun crafting with your furry friend!
PVC Projects
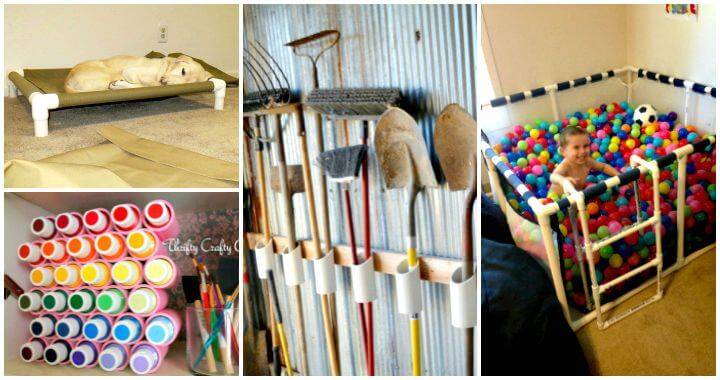
PVC pipes are really fun to work with – they’re perfect for beginners as you don’t really need to use any heavy tools to cut through these little pipes! The thickness and circumference of the pipe can depend entirely on the project that you choose! There are many different PVC projects that you can make out of these pipes – chicken coops, chairs, ball pits, coffee tables, etc. You can pick one that you like the most or need at the moment! Furthermore, PVC pipes are also cheaper compared to wood, so that’s another great thing about these projects!
DIY Towel Rack
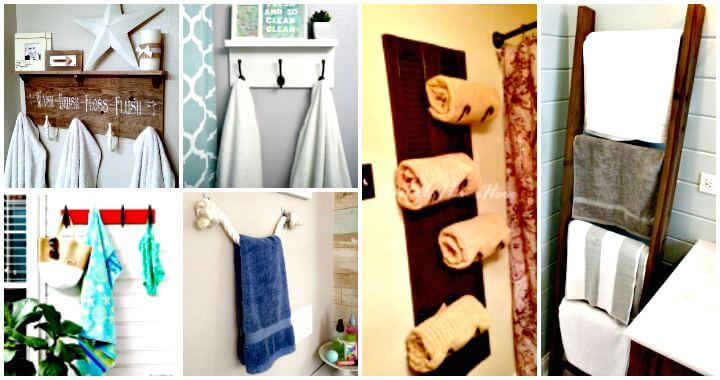
Every bathroom needs a towel rack! You can easily make a DIY towel rack that matches your bathroom perfectly by following the instructions on the chase the star blog guides! Are you excited to make a towel rack in the comfort of your own house? You only require a few basic tools and materials! Furthermore, it’s also very easy to do the measurements of a project like this one – use a measuring tape and marker before making the cuts! The towel rack can also be painted to match your bathroom’s theme – after all, who doesn’t like a good looking bathroom, right?
Pallet Projects

Pallet wood is the best material when it comes to making almost any furniture item! Pallets wood is the strongest wood, so it provides a lot of durability and support to almost any item you make out of it! These pallet projects to make any furniture pieces like pallet coffee tables, nightstands, beds, cupboards, stairs, shelves, etc. It’s Important to choose a string material when making pieces like these, and a pallet is just the best option! Pallet wood, planks, lumber, miter saw, table saw, drill, measuring tape, jigsaw, and other supplies are required to re-create projects like these!
DIY Garden
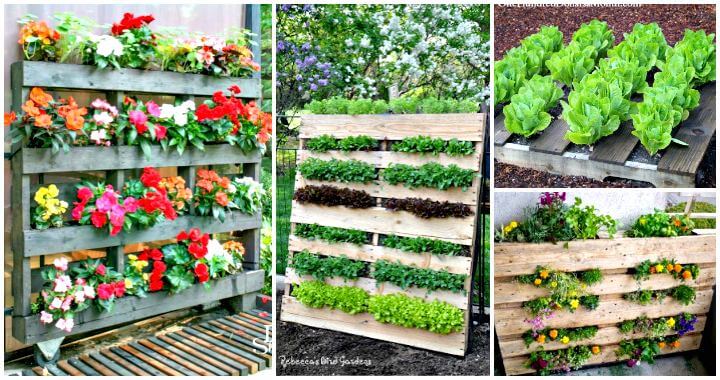
The outside part of your house should look just as good as the inside! Summer season is just around the corner, which means that it’s time to make your garden look absolutely stunning! You can go all types of different things to make the garden look amazing – making DIY swimming pool, planting flowers, DIY herb garden, adding planters or pots, etc. Most of these ideas can be found in this blog’s home decor section, and these guides will give you step–by–step directions on how you can make the perfect DIY garden for your house! You can do a few of these things for your balcony if you don’t have a garden!
DIY Fireplace Remodeling:

When it comes to home renovations, the fireplace is often one of the focal points that people choose to update. If your fireplace is outdated or simply not your style, there are many different ways you can update it. In this blog post, we’ll explore the best white brick fireplace ideas for updating your old fireplace. Whether you’re looking for a simple makeover or a completely new design, we have you covered! Keep reading for inspiration.
DIY Spice Rack:
If you’re like most somebody, your kitchen cabinets are bursting at the seams with spices. And if you’re like me, you never seem to be able to find the spice you need when you need it. A solution to this problem is a diy spice rack. There are many different ways to make a spice rack, so I’ve put together a few homemade diy spice rack ideas for you to make your own. Whether you’re searching for something simple or more complex, I’m sure you’ll find an idea that will work for you. So get creative and start building your very own diy spice rack today!
Related DIY Crafts and Projects to Try
Bullet Journal Ideas: Use this list of simple bullet journal ideas to get started on your own bullet journal today. From tracking your daily tasks to recording your thoughts and inspirations, a bullet journal can be a valuable tool for organizing your life.
Scrap Wood Projects: Looking for simple scrap wood projects that you can do on your own? Find easy scrap wood ideas that are perfect for beginners, and most of them can be completed in just a few hours. The instructions are simple and straightforward, with illustrations for clarity wherever necessary.
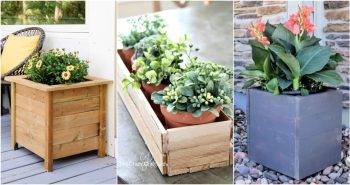
DIY Raised Garden Bed: Here are beautiful examples of cheap DIY raised garden bed ideas, complete with free PDF plans, tutorials, and inspirations. You can build raised garden beds for vegetables, flowers, herbs and more.
Homemade Luggage Tag Ideas: Embellish your luggage with these creative DIY Luggage Tags! Create tags from scratch or pick from an assortment of templates.
Few Sewing Patterns:
Baby Bib Patterns: Sew and make adorable baby bibs that are stylish, functional and affordable. Our free patterns include simple to advanced sewing patterns.
Related DIY Ideas to Try:
 28 DIY Beach Decor Ideas to Get a Coastal Home Theme
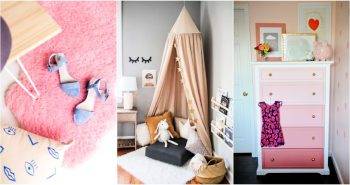 25 Cute DIY Room Decor Ideas for Every Home
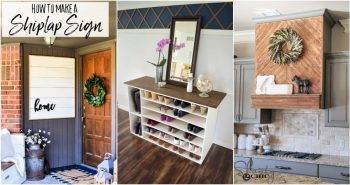
 30 Easy DIY Home Decor Ideas and Projects on a Budget
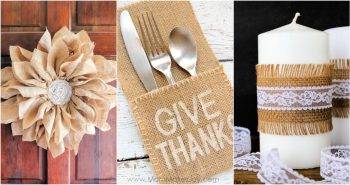 15 Easy DIY Burlap Crafts and Decor Ideas
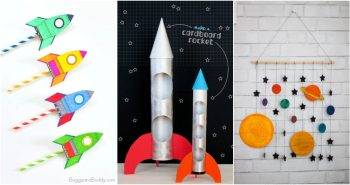 25 Space Crafts for Kids: Easy Outer Space Crafts
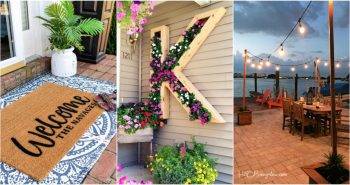 25 Easy DIY Front Porch Ideas (DIY Porch Decor)
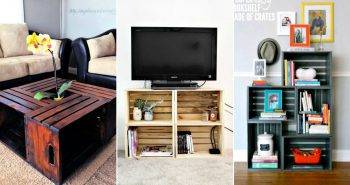 30 Unique DIY Wooden Crate Ideas and Decor Projects
 14 Cheap DIY Farmhouse Decor Ideas
 25 DIY Wooden Boxes for Efficient Storage and Decor
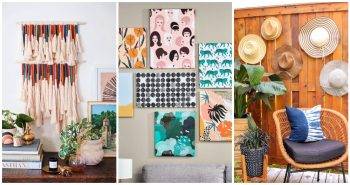 25 Easy DIY Wall Decor Ideas That Anyone Can Make
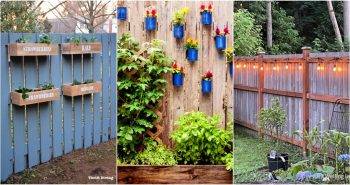 25 DIY Fence Decor Ideas (How to Decorate a Fence)
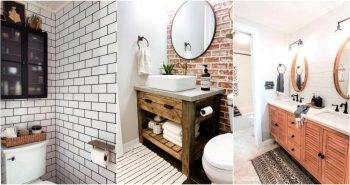 20 Modern DIY Farmhouse Bathroom Decor Ideas to Try